HOW TO WATERPROOF A BATHROOM FLOOR
Hey students!
Excellent and thorough waterproofing saves bathrooms. I swear by this, time and time again. Whenever you are remodeling a bathroom, the #1 issue on your mind should be HOW CAN I BEST WATERPROOF AND PROTECT MY BATHROOM.
So, let’s focus on a specific area of waterproofing in a bathroom— like the floor.
Thanks to modern innovation and technology, it is easy and accessible to get your hands on some high quality waterproofing products and install them yourself. Since there are many different types of waterproofing systems available for bathroom floors, and depending on what kind of tile you are installing, you will want to choose the best option for your specific needs.
I go over all of my favorite waterproofing options for the bathroom floor, as well as the tools and products you need, in this video.
In this video, for the bathroom floor I’m waterproofing, I used a floor leveling system to make my floor perfect for the mosaic tile I was going to lay down. I felt my best option was to go with a liquid waterproofing membrane for the majority of the floor and use a membrane fabric for the corners.
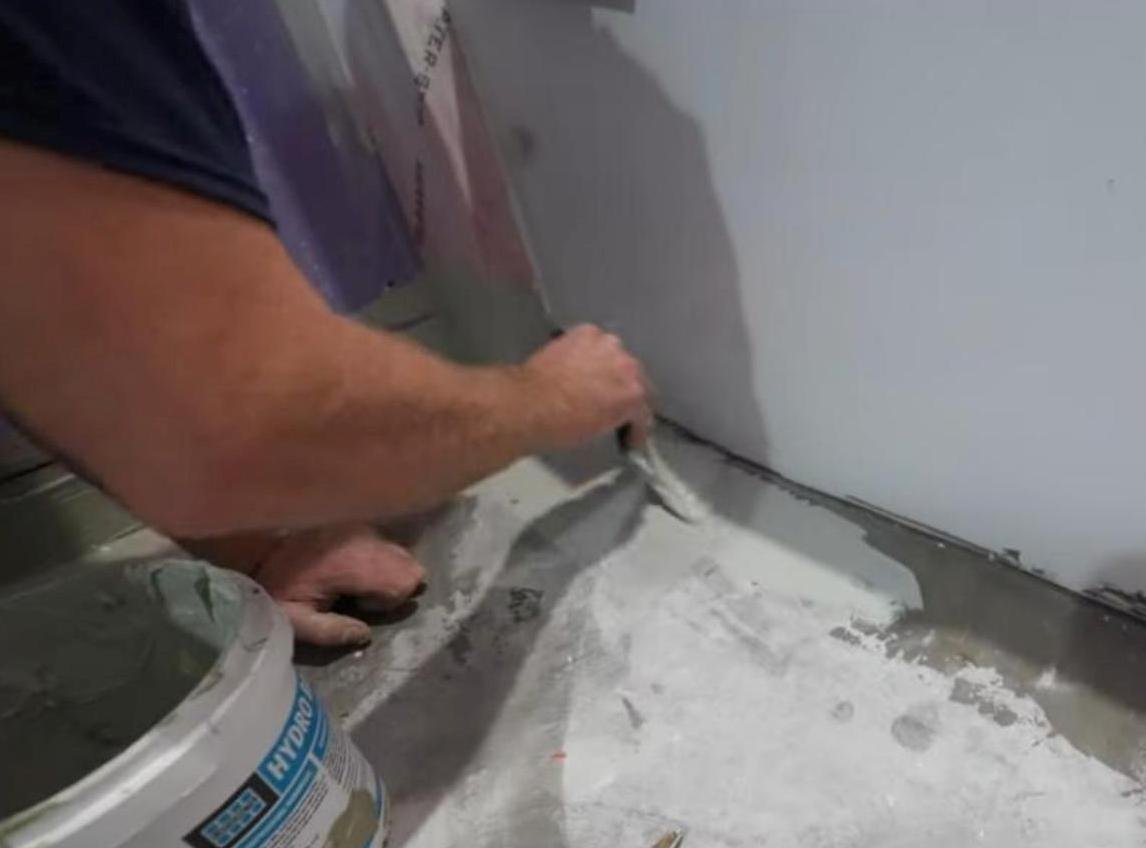
Getting started, I vacuumed all the debris off of the bathroom floor. Then, I used the Laticrete Hydroban liquid membrane to adhere the fabric to the corners of the floor bathroom.
I made sure to do the entire perimeter of the room with the fabric mesh, but I left out the tub area.
Once I was done with the perimeter, I moved on to the tub area. I applied a generous coating of the Laticrete Hydoban liquid membrane to the outside of the tub, basically “cutting in” as close to the tub as I could. I completely waterproofed the tub with a sealant once the liquid membrane dried.
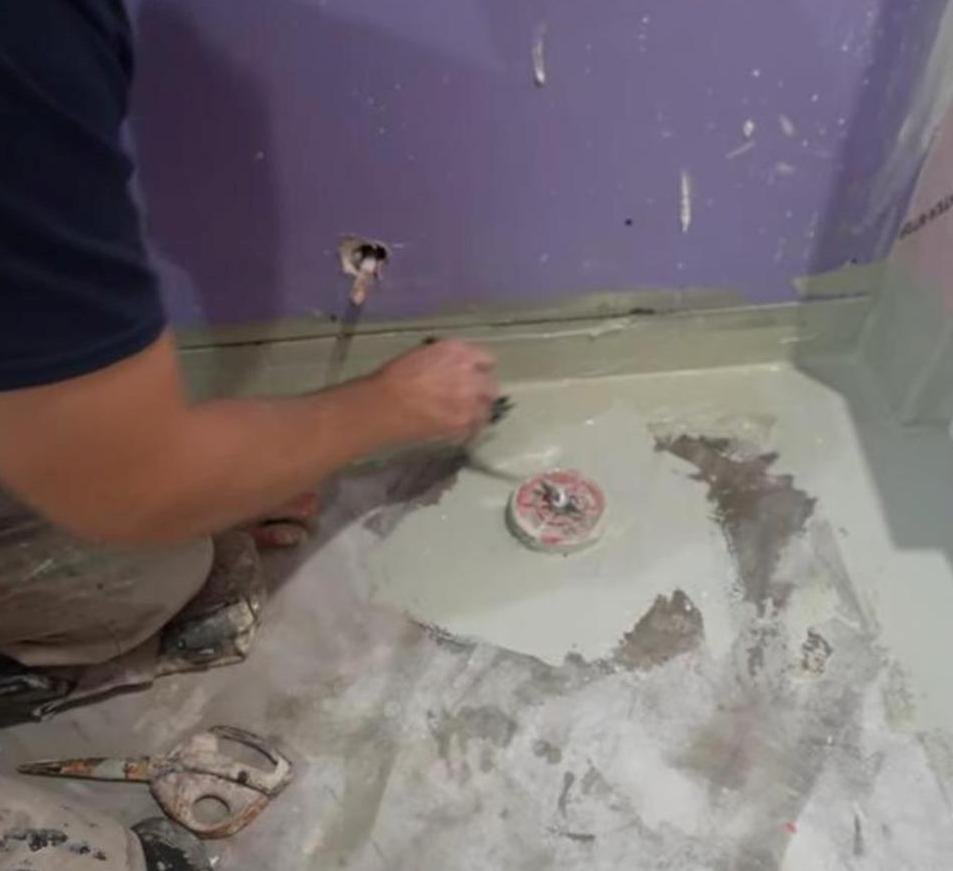
I applied a nice, thick amount of the liquid membrane around the toilet flange, and then I finished the entire floor.
After the first coat dried, I applied a second coat. I felt confident the bathroom floor was completely waterproofed and secure.
🔨The materials & tools used in this video (Amazon affiliate links):
Hydroban - https://amzn.to/3HqvVWo
Mesh for corners - https://amzn.to/3H1N1sd
Hydroban sealant - https://amzn.to/3J8uahO
1/2" nap roller - https://amzn.to/3Hspv90
💥Visit my Amazon Store for all products and tools that I recommend and use on a regular basis 👍 https://www.amazon.com/shop/bathroomremodelingteacher_
For help with your bathroom remodel 🎓Enroll in my courses today 🎓 -
🛁 —> 🚿 CONVERTING TUB TO WALK-IN SHOWER COURSE- https://www.bathroomremodelingteacher.com/tub-to-shower-course-detail
🛁TUB & SHOWER REMODEL IN 7 DAYS OR LESS COURSE- https://www.bathroomremodelingteacher.com/tubshowercourse
🚿 CUSTOM TILED WALK-IN SHOWER COURSE - https://www.bathroomremodelingteacher.com/custom-tiled-walkin-shower
✨ CUSTOM GLASS ENCLOSURE COURSE - https://www.bathroomremodelingteacher.com/customglasscourse
😄DIY BATHROOM GEEK COLLECTION {all 4 courses!}👊 -https://www.bathroomremodelingteacher.com/geek-collection-detail
#diy #tile #bathroomremodel #homeimprovement #waterproofing
#realestate #renovation #construction #homerenovation #bathroomdesign #work #bathroomremodelingteacher #stevewhite #tipsandtricks #tutorial #howto #interiordesign #electrical #tiledesign
All the tools and products I use and recommend can be found on my Amazon Storefront (detailed in the description box of the video). You can find my Storefront, and all of my other social medias, by going to https://linktr.ee/bathroomremodelingteacher. Any and all purchases from my Amazon Storefront are greatly appreciated and help keep my channel going!
I hope this helps you with your own installation. Subscribe to my channel to make sure you don’t miss a new upload!
See you next class,
Steve


