HOW TO INSTALL A SHOWER PAN BASE
Hey students!
“I want a walk-in shower, but I don’t want to deal with all the tile work, especially on the floor, that comes with it.”
“I don’t want to deal with cleaning all the grout lines in a walk-in shower.”
“It’s too overwhelming…”
These are just a few things I hear home owners and DIYers say when they are thinking about remodeling their bathroom and converting their tub to a walk-in shower.
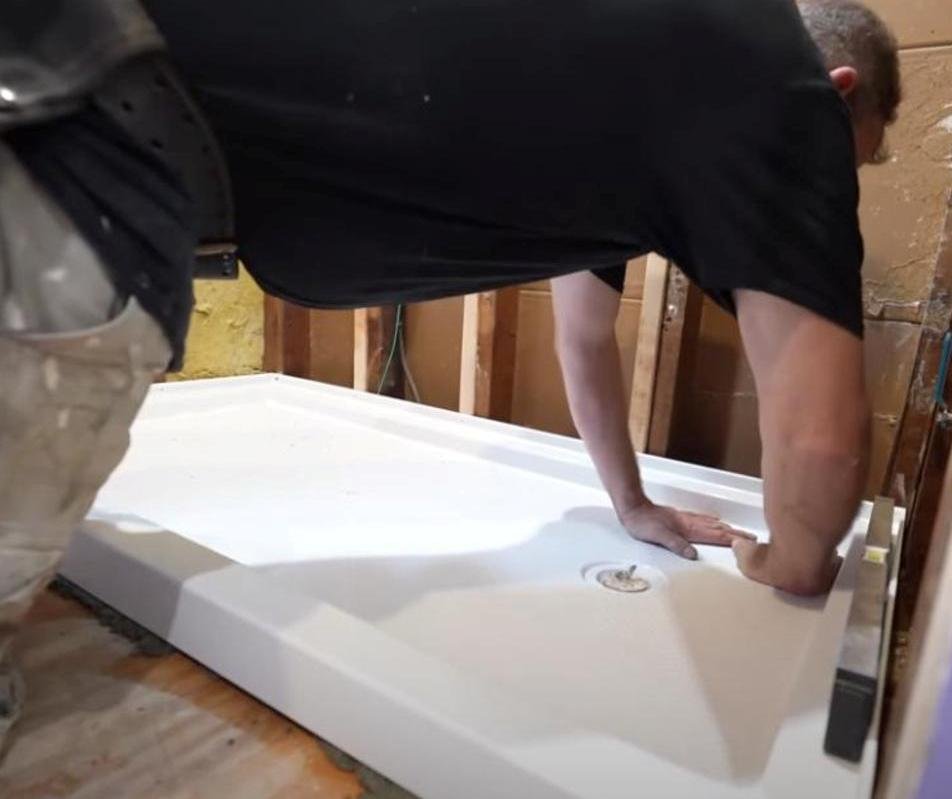
There is an simpler way to do it. Introducing the pre-made DREAMLINE shower pan. I love this thing. It’s easier to clean, no grouting required, no tile layout on the floor necessary, and it comes in different colors to match your tile and decor. It’s great for beginning DIYers.
There are only 5 steps when installing a shower base pan. What’s even better is that I have a course on converting a tub to a walk-in shower, and it involves using this very pan!
Step #1: Check levelness. Take note of where the pan may need some help in levelness, so when you go to set it in the mortar, you can use the mortar to make the pan level. REMEMBER: You want to make sure this pan slopes toward that drain.
Step #2: Mix the mortar for the shower pan. The mortar gives the shower pan much needed support. You don’t want the pan to bow and flex while standing on it. NOTE: Be sure to pick a mortar that does not have any aggregate in it.
Step #3: Throw down that mortar. Be sure to wet and wipe down the substrate before putting down the mortar. Spread that mortar around like a the thick, chunky peanut butter it is, adding some build up to the areas that need some help with levelness.
Step #4: Set the drain BEFORE setting the pan in the mortar.
Step #5: Set the pan in the mortar and check for levelness. You may need to do some maneuvering and walking on the pan to make it level. Add plastic shims if needed. Once you have it where you need it, screw the shower pan’s flange in the wood framing to keep it there.
Your base is all set to go! You are ready to add the water-proofing (I love Go-Board for waterproofing) and attaching/finishing the shower drain. Watch the entire video for all those details.
🔨The materials & tools used in this video (affiliate links):
Dreamline SlimLine 32x60 in. shower pan base - https://amzn.to/3Xotvgw
MAPEI 4-to-1 Mud Bed Mix - https://amzn.to/3D3c0tV
Composite shims - https://amzn.to/3GSbccv
Shower pan bases and supplies - https://amzn.to/3wgSdDs
💥Visit my Amazon Store for all products and tools that I recommend and use on a regular basis 👍 https://www.amazon.com/shop/bathroomremodelingteacher_
For help with your bathroom remodel 🎓Enroll in my courses today 🎓 -
🛁 —> 🚿 CONVERTING TUB TO WALK-IN SHOWER COURSE- https://www.bathroomremodelingteacher.com/tub-to-shower-course-detail
🛁TUB & SHOWER REMODEL IN 7 DAYS OR LESS COURSE- https://www.bathroomremodelingteacher.com/tubshowercourse
🚿 CUSTOM TILED WALK-IN SHOWER COURSE - https://www.bathroomremodelingteacher.com/custom-tiled-walkin-shower
✨ CUSTOM GLASS ENCLOSURE COURSE - https://www.bathroomremodelingteacher.com/customglasscourse
😄DIY BATHROOM GEEK COLLECTION {all 4 courses!}👊 -https://www.bathroomremodelingteacher.com/geek-collection-detail
#bathroomremodel #shower #diy #homeimprovement #howto
#realestate #renovation #construction #homerenovation #bathroomdesign #work #bathroomremodelingteacher #stevewhite #tipsandtricks #tutorial #howto #interiordesign #electrical #tiledesign
All the tools and products I use and recommend can be found on my Amazon Storefront (detailed in the description box of the video). You can find my Storefront, and all of my other social medias, by going to https://linktr.ee/bathroomremodelingteacher. Any and all purchases from my Amazon Storefront are greatly appreciated and help keep my channel going!
I hope this helps you with your own installation. Subscribe to my channel to make sure you don’t miss a new upload!
See you next class,
Steve


